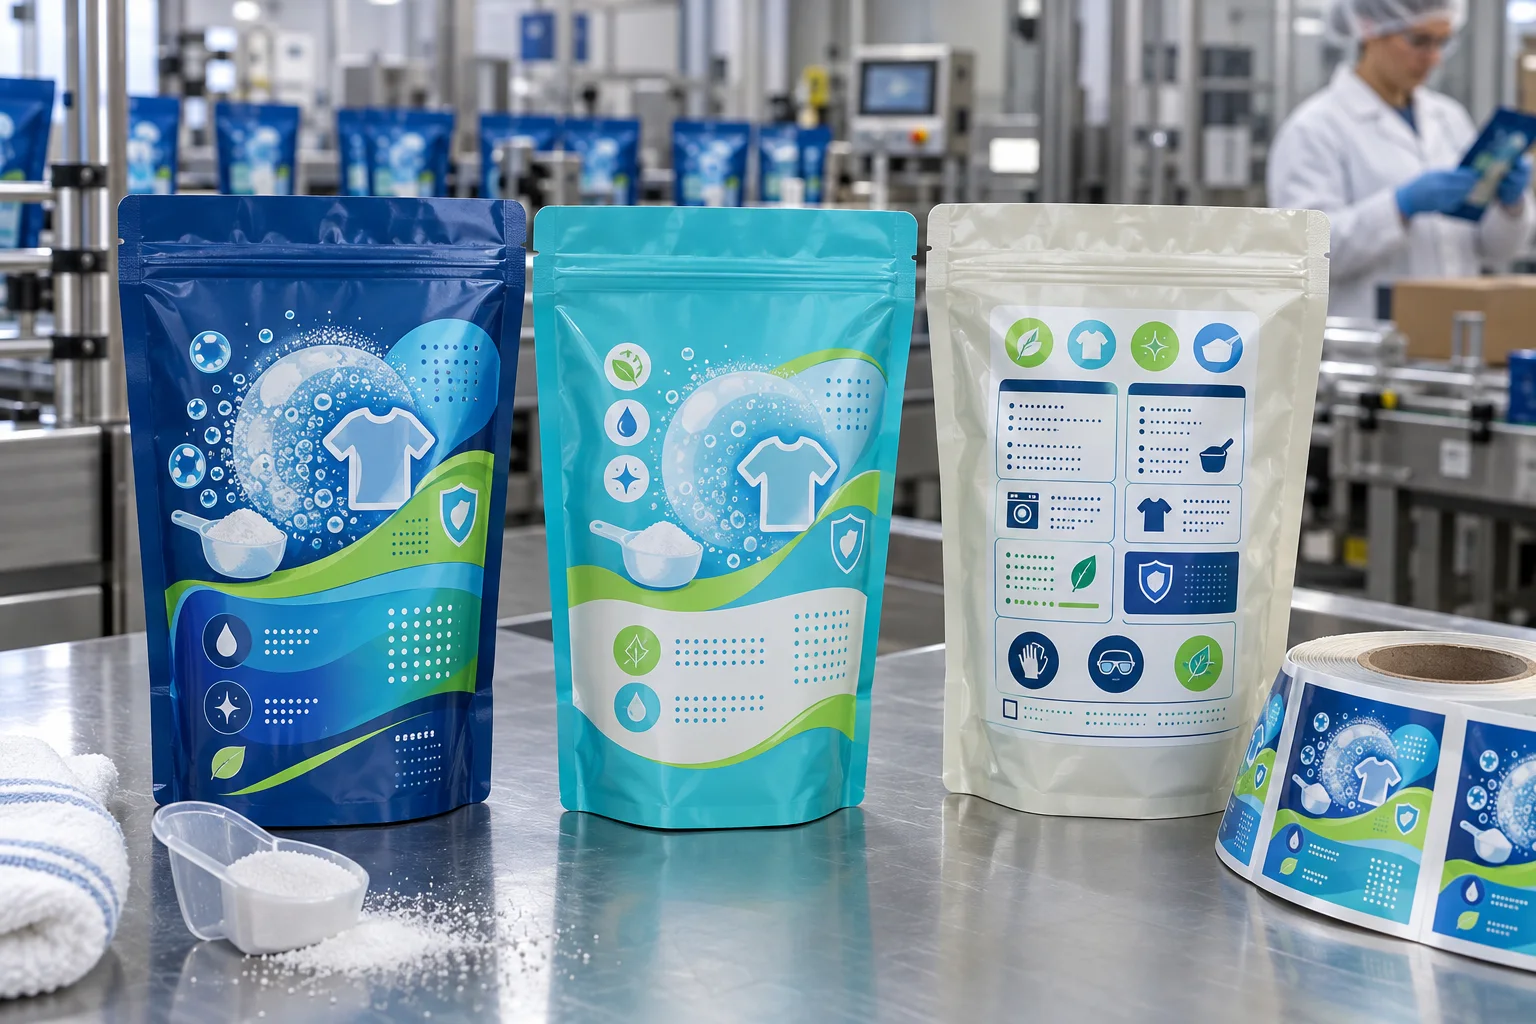
Reserve a stable front panel
Mark the seal areas, gusset folds, zipper or tear zone and the part of the pouch that remains visually flat after filling. A good label panel stays readable when the pouch is full, not just when it lies empty on a desk.
Use familiar icons with a defined role
Bubble clusters, garment outlines, measuring-scoop marks and simple shield graphics can establish a wash-care system without copying a competitor. Use them to guide recognition, then leave clear zones for the final product information approved by the responsible team.
Plan the front and back as one conversation
The front should establish product family and variant; the back should make room for detailed, market-specific information. Trying to force every message onto the front usually makes a pouch look less premium and harder to read.
Choose label materials for the pouch surface
Pouch films can be glossy, textured or flexible, and their surfaces affect adhesion and finish. Film labels are often evaluated for durable home-care packs, but the final material should be checked against the pouch laminate, fill conditions, storage and application process.
Check rolls, gaps and pack orientation
When labels are applied after pouch filling, the applicator needs the correct roll direction, gap and label orientation. Confirm this alongside the pouch supplier and the production line rather than treating it as a detail for later.
Use a filled-pouch proof
Review the actual filled pouch from the front, side and back. Supply pouch dimensions, artwork, finish preference and quantity. For another flexible format, see our laundry pod packaging label guide.
Need oxygen bleach pouch labels?
Share your pouch details, artwork and quantity for practical label options and a free digital proof.
Request a Pouch Label Quote