Start with the bottle's usable wall
Measure the straight wall, front and back flats if present, shoulder transition and bottom curve. Note the glass mould seams. A small square bottle may offer four usable panels; a round bottle may have only a narrow label zone before the front wraps away from view.
The cap is a separate component. If the brush cap is removed repeatedly, avoid bridging the cap and bottle with the main product label. A shade identifier on the cap can be helpful when bottles are stored in trays, but it is another shape and artwork version to order.
Choose the shade system before the finish
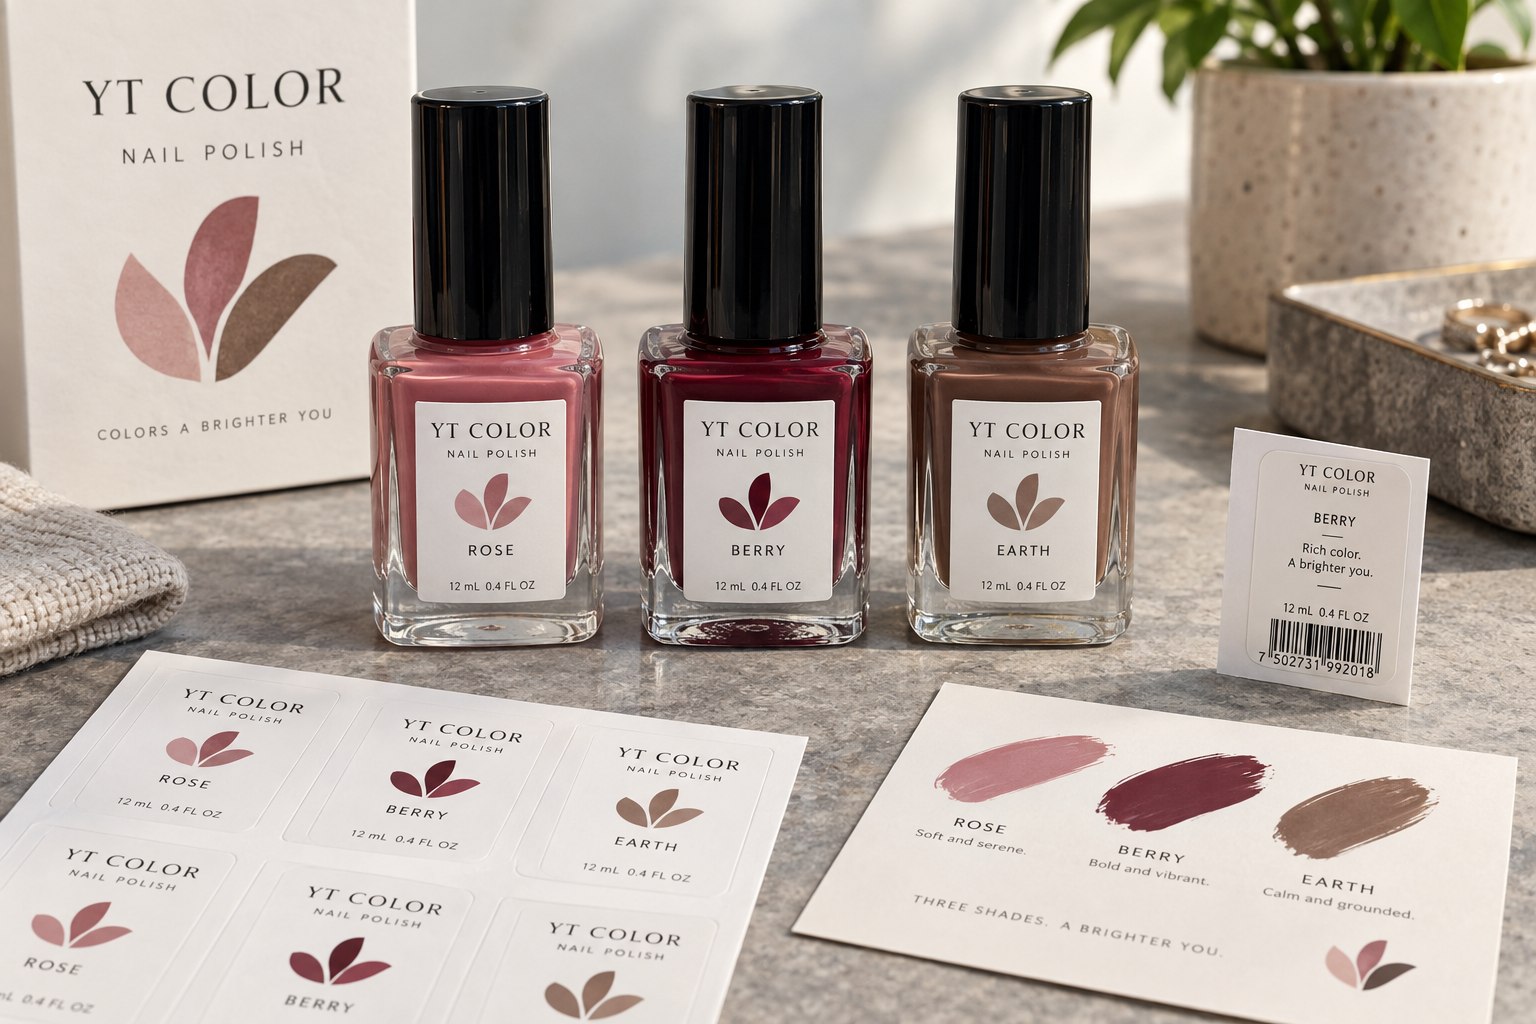
Suppose a new range has eight colours and each shade name is still being tested. A common front design with a controlled colour swatch and clear shade name may be easier to revise than eight unrelated mini artworks. The swatch should be checked against the filled polish: a printed colour patch will not automatically match liquid seen through tinted or clear glass.
A mature line with stable volumes may prefer direct printing on the glass. That can remove an adhesive edge and a placement step. I would ask for both routes in the comparison. A premium-looking label is only useful if the application remains consistent across the whole shade family.
Treat product contact as a test condition
A nail polish bottle may encounter product drips or cleaning materials in its working life. Do not claim that “vinyl” or “laminate” alone makes a label safe for every exposure. Ask what materials the filled pack might contact during filling, cleaning and normal use, then agree a controlled sample assessment with the converter. Inspect ink appearance, edge lift, residue and legibility after the agreed handling.
HERMA's material overview explains why curved surfaces, solvents and other environmental conditions can require different label constructions. It does not certify a proposed nail polish label. The actual glass, contents, handling process and finished label must be tested for this job.
Spend the limited space deliberately
Keep the brand, product type and shade identifier readable before adding ornamental copy. An original nail-swatch icon or fine curved-line graphic can make the range recognisable without borrowing a known beauty logo. Reserve a separate area for information approved by the brand's responsible team. Do not invent an ingredient list, safety symbol or performance claim to fill a sample.
For a hypothetical eight-shade run at 300 bottles each, the request is eight front designs at 300 labels. A matching cap dot would add eight more versions and 2,400 pieces. That is a practical cost and quality-control question, not a minor artwork footnote.
What I would send for a quote
Send a bottle drawing or physical sample, label-panel dimensions, cap specifications if needed, shade list, quantity per shade, application method and expected exposure. Compare a physical mockup to the YT Labels buying guide before approving the final dieline. Then request a project quote.
The shade card is useful. The bottle that is picked up, opened and closed is the actual packaging test.
Related label guides
Browse all packaging guides · Prepare a complete label specification
Plan your label project
Share your packaging dimensions, artwork versions, quantity per design and intended use. We can review label options and prepare a digital proof; physical performance and production terms need project-specific confirmation.
Request a Cosmetic Labels Quote